IN THIS ARTICLE
Create Terrain Assets
In this tutorial section, you will create the terrain assets needed for authoring the example terrain in a level.
Create a surface tag name list
Surface tag names are strings that you can use to refer to parts of the terrain that are associated with specific gradients. These tags will be used to describe which parts of the terrain are grass surfaces and which parts are rock surfaces.
From the Tools menu, select Asset Editor.
In Asset Editor, choose File → New → Surface Tag Name List.
In the surface tag name list click the
Add button to add a tag name.
Supply
tutorial_grassfor the tag name. This tag will be used for grass surfaces.Click the
Add button again to add a second tag name, and name it
tutorial_rock. This tag will be used for rock surfaces.Save the surface tag name list to your tutorial level directory with the name
tutorial_tags.surfaceTagNameList(hotkey Ctrl + S).
You can add more tags for any additional surface types that you intend to create beyond the tutorial.
Create terrain source image assets
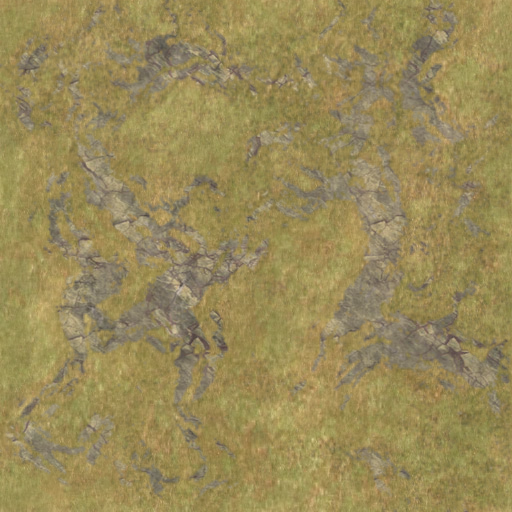
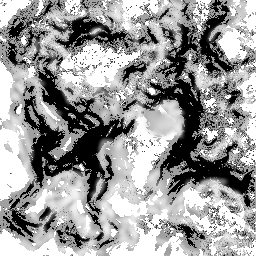
To complete this tutorial, you can use the following example images or you can use your own. To use these images, right-click on each image, choose Save Image As..., and save the image into the folder that contains your tutorial level.
| Heightmap | Macro Color | Surface Weight Mask |
|---|---|---|
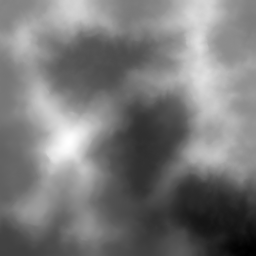 |  |  |
A heightmap is an image in which dark values represent low elevation areas and light values represent high elevation areas. Heightmaps can be used for terrain by assigning them to Image Gradients. To use a heightmap with an Image Gradient, it must be processed as a gradient signal image (GSI) by Asset Processor to prevent the texture processing from applying color corrections or lossy compression. To ensure the heightmap is processed correctly, keep the following recommendations in mind:
16-bit color depths are recommended. 8-bit images may not provide enough gradient steps to represent elevation, and 32-bit images might be unnecessarily large. 16-bit images can provide up to 65,536 elevation steps.
Use
.pngor.tifformats for 16-bit heightmap images.Use
.tifformat for 32-bit heightmap images.Postfix the heightmap file name with
_gsiso that the heightmap is automatically processed by Asset Processor as a GSI (LevelOneTerrainHeight_gsi.png, for example). If you don’t use the_gsipostfix, you can use Texture Settings to configure the heightmap source asset to be processed as a GSI.
Tip:The default Height Query Resolution for terrain in O3DE is 1.0 meters. This means a 1000 x 1000 heightmap represents one square kilometer of terrain. The Height Query Resolution can be changed in the Terrain World level component.
A macro color texture is an image that provides low-fidelity color variation to the terrain. Any texture format can be used, though the name should have a postfix of _basecolor to ensure that it is processed as a color texture.
A surface weight mask is an image in which dark values are low surface weights and light values are high surface weights. Surface weight mask images are also used with Image Gradients, so they should also be postfixed with _gsi. Precision isn’t as noticeable in surface weight masks, so 8-bit images are nearly always sufficient.
Terrain materials
There are two types of materials that are needed for terrain, the macro material and detail materials.
The macro material is a basic material that applies to the entire terrain. It supports a simple color texture and a normal texture. These textures provide low fidelity color and normal information across the entire terrain that is blended with detail materials. The macro material is the only material displayed at distances from the camera that are farther than the Detail material render distance.
Detail materials are standard materials that you can create with the Material Editor. They are assigned to the terrain through surface tag names with weight values that are generated by gradients. This allows you to assign many materials across a large terrain surface and blend between them. Detail materials are displayed on the terrain within the Detail material render distance from the camera.
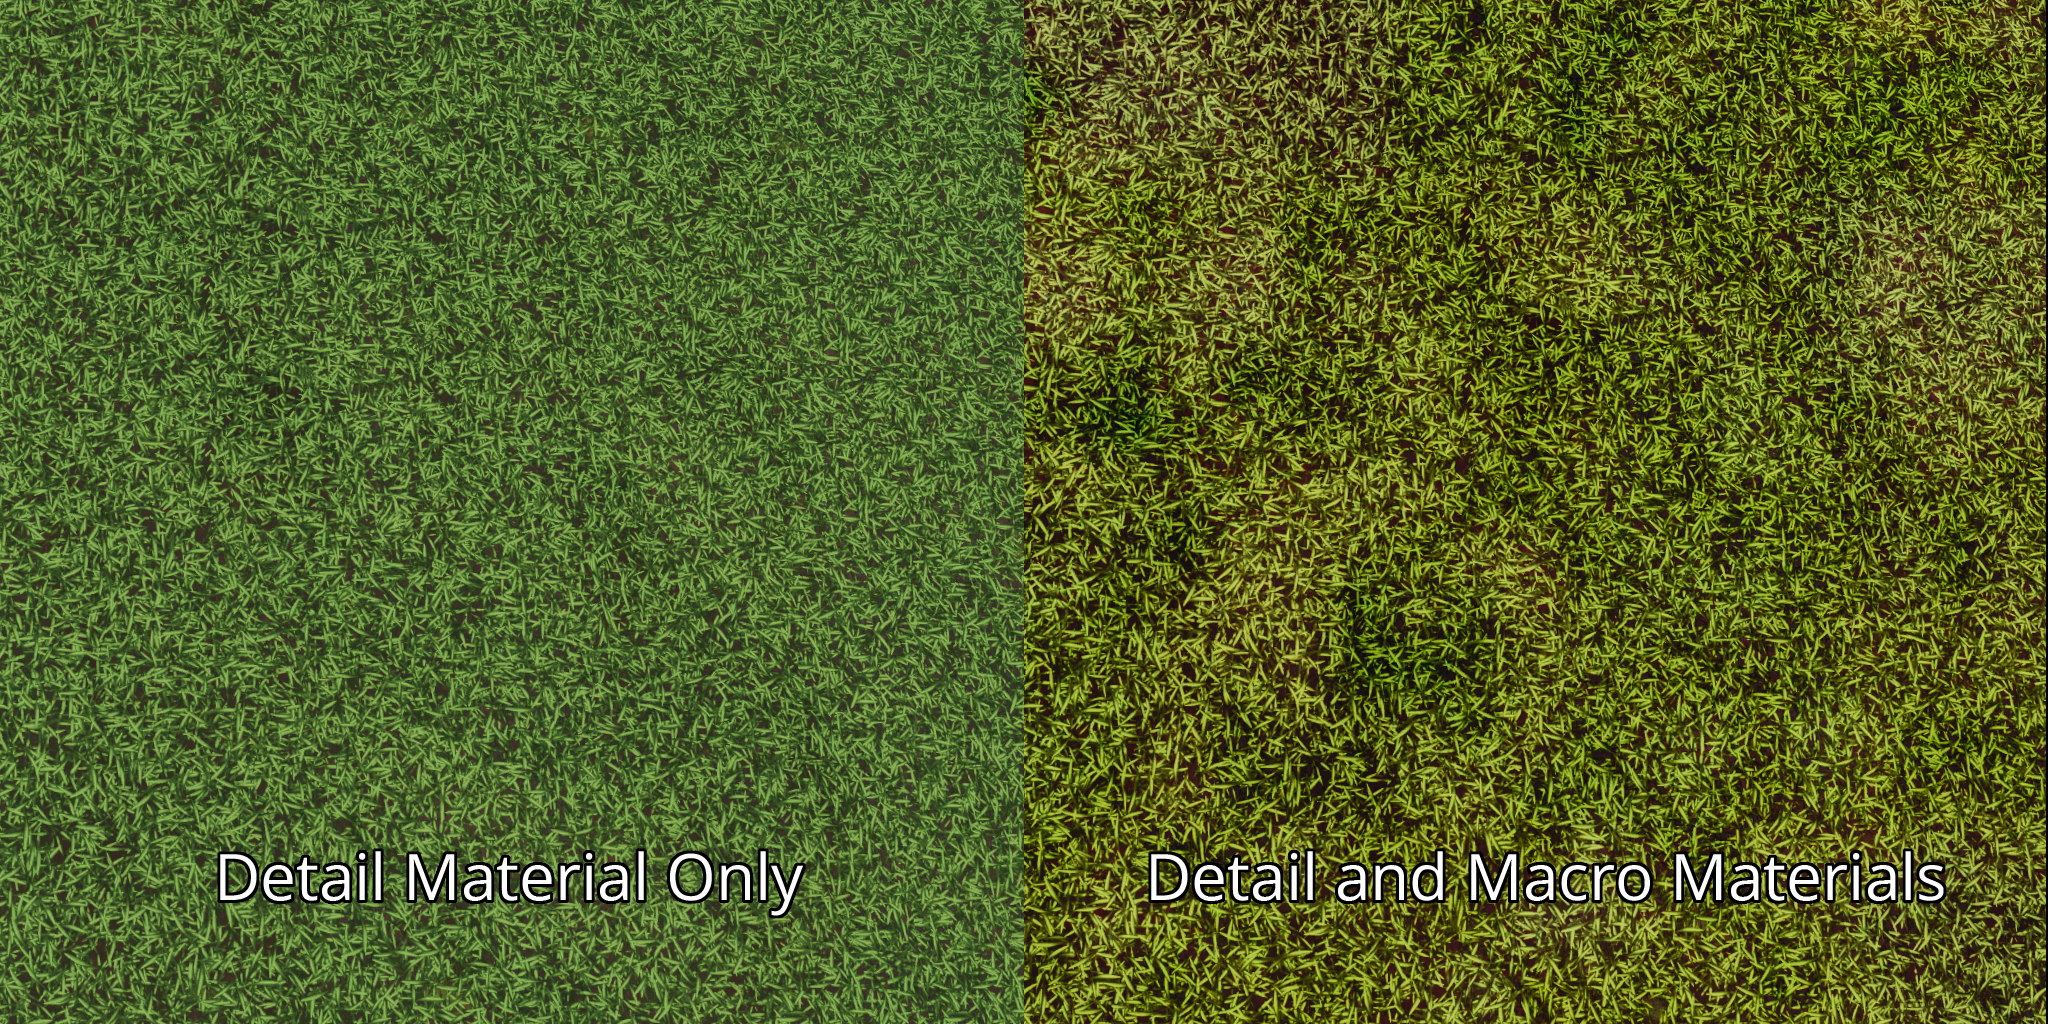
This blending of detail materials with the macro material enables you to use small, high fidelity, tiled detail materials by creating variations in color and lighting across the terrain. In the following example, the grass on the left is a detail material that is not blended with the macro material. The grass on the right is the same detail material, but it has been blended over a low fidelity macro material. Notice the variations in color and lighting that create a less uniform and much more natural appearance:
Tip:In the Terrain World Renderer level component, there is a property group named Detail material configuration that you can use to configure how far from the camera to stop blending detail materials into the macro material, and the distance over which to fade out the blended detail materials.
The following example image demonstrates various material assignments and how they interact on a terrain surface:
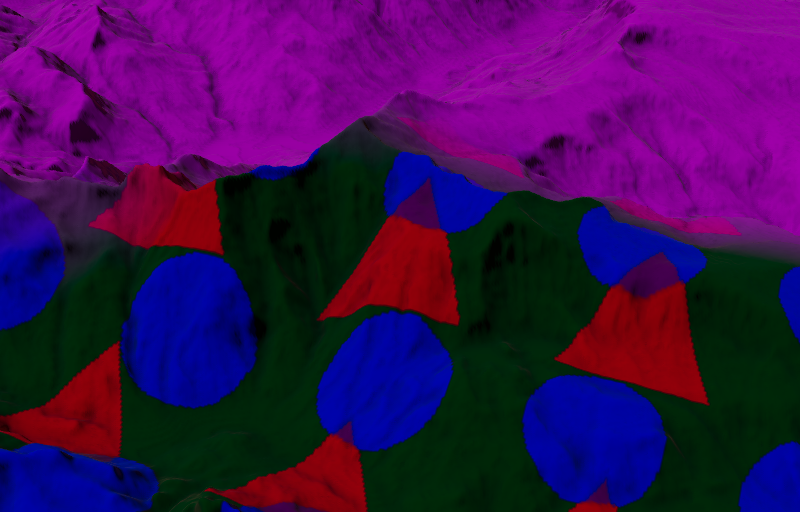
In this example, there are four materials:
Magenta - This is the macro material. It’s displayed on terrain that is 512 meters from the camera. The blend distance between this macro material and the detail materials is 64 meters.
Green - This is the default detail material. Detail materials are layered, and the default material is the base layer. The default material is displayed on areas that aren’t assigned a detail material through a surface tag name, but are close to the camera.
Red - This is a detail material. It’s applied to the terrain through a surface tag name. The surface tag name is generated by a tiled image gradient that contains a white triangle on a black background.
Blue - This is a detail material. It’s applied to the terrain through a surface tag name. The surface tag name is generated by a tiled image gradient that contains a white circle on a black background.
Note:Notice that the red and blue detail materials blend to purple in areas where the triangles and circles overlap. The is because the image gradients are generating surface tags for both materials in these overlap areas.
Create terrain detail materials
The following steps are a slightly modified version of the Creating a StandardPBR Material tutorial, so that the end results are Terrain Detail Materials instead of StandardPBR materials. You may wish to familiarize yourself with that tutorial first as the steps here are abbreviated and contain less explanation.
Download texture files. This tutorial uses two ready-made materials from Poly Haven : Forest Ground 01 and Rock Boulder Dry . You can download them at any resolution; the example images in this tutorial use the 4k resolution. To download the required images, click the hamburger button next to the Download button, then choose an extension to use and click the button for that extension next to the AO, Diffuse, Displacement, Normal, and Rough maps. Save the files into your tutorial level folder and rename them as follows:
- forrest_ground_01_ao_4k → forrest_ground_01_ao
- forrest_ground_01_diff_4k → forrest_ground_01_basecolor
- forrest_ground_01_disp_4k → forrest_ground_01_displ
- forrest_ground_01_nor_gl_4k → forrest_ground_01_normal
- forrest_ground_01_rough_4k → forrest_ground_01_roughness
- rock_boulder_dry_ao_4k → rock_boulder_dry_ao
- rock_boulder_dry_diff_4k → rock_boulder_dry_basecolor
- rock_boulder_dry_disp_4k → rock_boulder_dry_displ
- rock_boulder_dry_nor_gl_4k → rock_boulder_dry_normal
- rock_boulder_dry_rough_4k → rock_boulder_dry_roughness
Create a Terrain Detail Material with the Material Editor. Open the Material Editor, select File -> New Material Document…, and create a
Terrain Detail Material. Note that you do not chooseStandard PBRhere because you will need the additional terrain texture controls that are available on aTerrain Detail Material. Name the materialforrest_ground_01.materialand save it in your tutorial level folder.Select the
forrest_ground_01_basecolorfor Texture under Base Color,forrest_ground_01_roughnessfor Texture under Roughness,forrest_ground_01_normalfor Texture under Normal,forrest_ground_01_aofor Diffuse AO under Occlusion, andforrest_ground_01_displfor Height Map under Displacement.The normal maps from Poly Haven need their normals flipped by default, so enable Flip Y Channel under Normal.
Under Base Color, set the Texture Blend Mode to
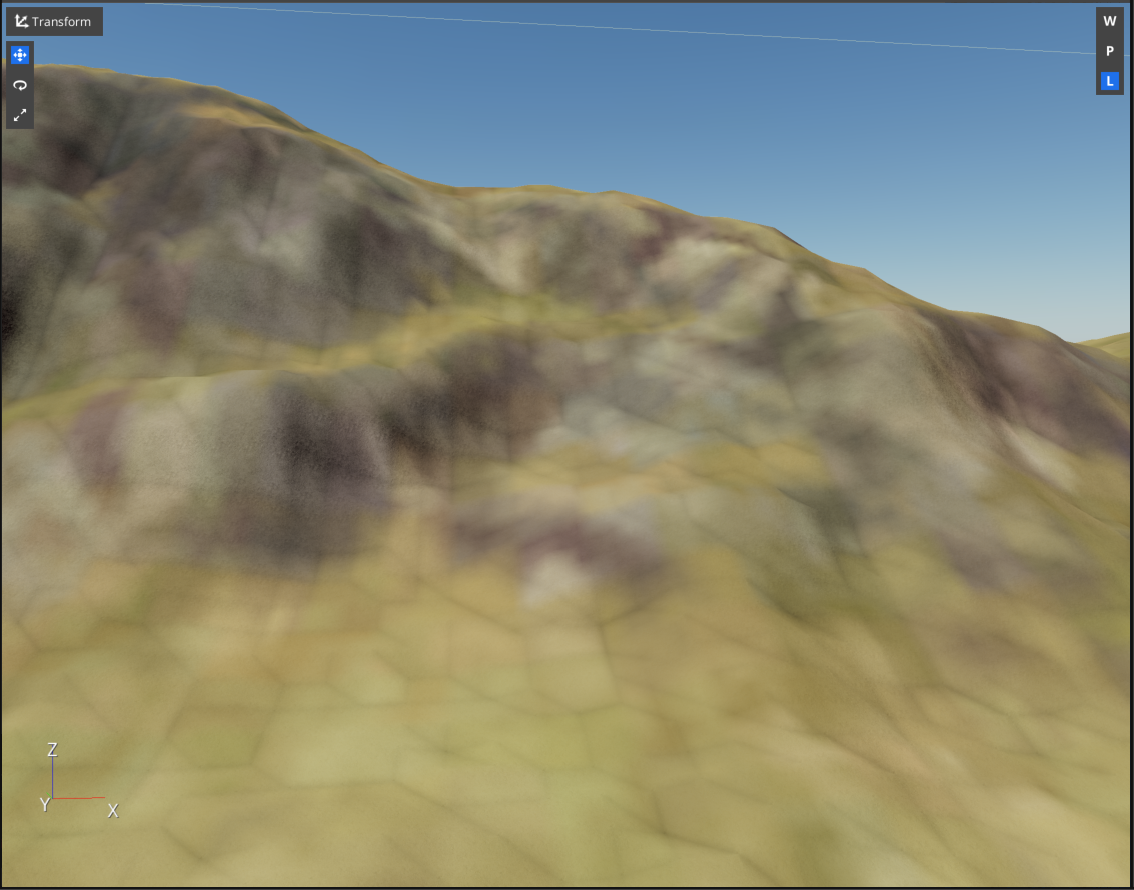
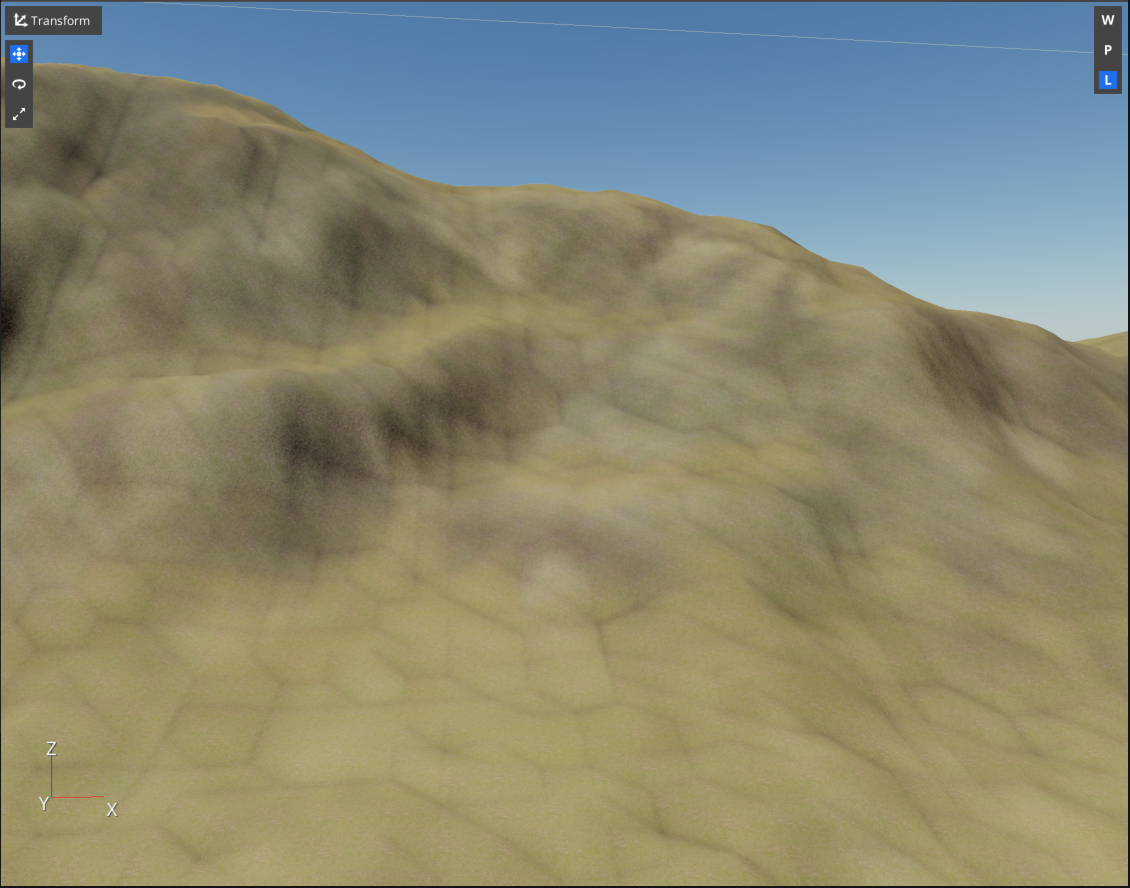
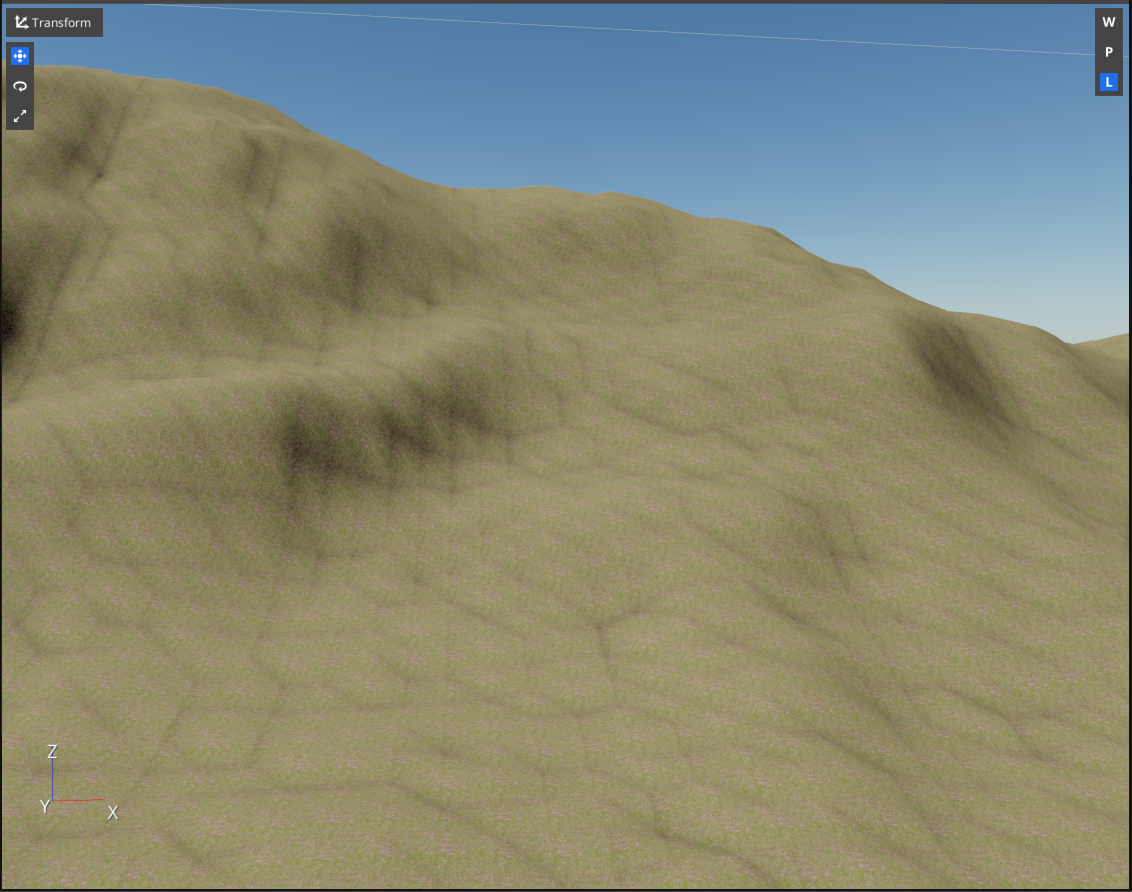
Lerpand the Factor to0.5. For terrain detail materials, you’ll typically use a Texture Blend Mode ofLinearLightto blend between a high-frequency detail material and a low-frequency macro material. Refer to Terrain Detail Material and the Understanding Frequency Separation tutorial for more details. Less often, you might choose to use a Texture Blend Mode ofLerpwith a Factor of0.0to blend from just the macro material at far distances to just the detail material at close distances. This is used in workflows where the detail materials contain full-color information and the macro material is a low-resolution composite of the detail materials, not a separate texture used for color variation. For simplicity, this tutorial uses a third technique to achieve color variation through blending. Setting the Texture Blend Mode toLerpand a Factor of0.5performs a 50% alpha blend between the macro material and the detail material. This produces a blended result that has some color variation. The alpha blending is pronounced enough to produce more variation than usingLerpwith a Factor of0.0, but it is also less vibrant and detailed than using the frequency separation workflow. The chart below shows the effects of the different Lerp factors to help visualize how the blending changes the outputs.Base Macro Color Detail Lerp 1.0 Detail Lerp 0.5 Detail Lerp 0.0 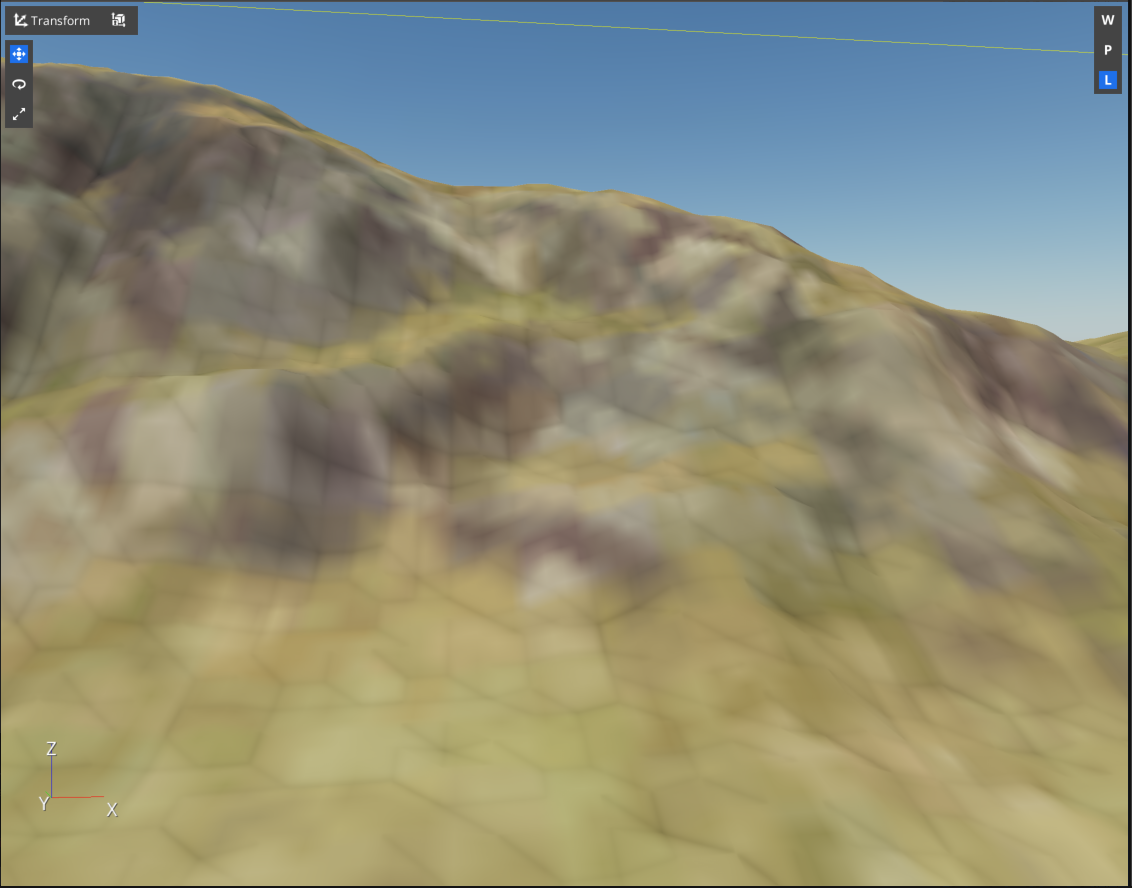
Scale the textures larger. This is purely an aesthetic choice, it helps the details in the textures become more visible. Set Tile U and Tile V under UVs to 0.25 to make the textures 4x larger than default.
Set the terrain height blending parameters. Under Terrain, enable Override parallax settings, set Height offset to 0.25, Height scale to 0.5, Blend factor to 0.5, and Weight clamp factor to 0.2. These values are tuned based on the aesthetics, they control how the detail material blends with other detail materials when height-based blending is enabled.
Follow steps 2-7 again to create a material named
rock_boulder_dry.material, using therock_boulder_drytextures that were downloaded. For this material, when following step 7, set Tile U and Tile V to 0.125 to make this material 8x larger than default, and set Height offset to 0.0, Height scale to 1.0, Blend factor to 0.2, and Weight clamp factor to 0.2. Once again, these values have been chosen based on aesthetics for this material.
